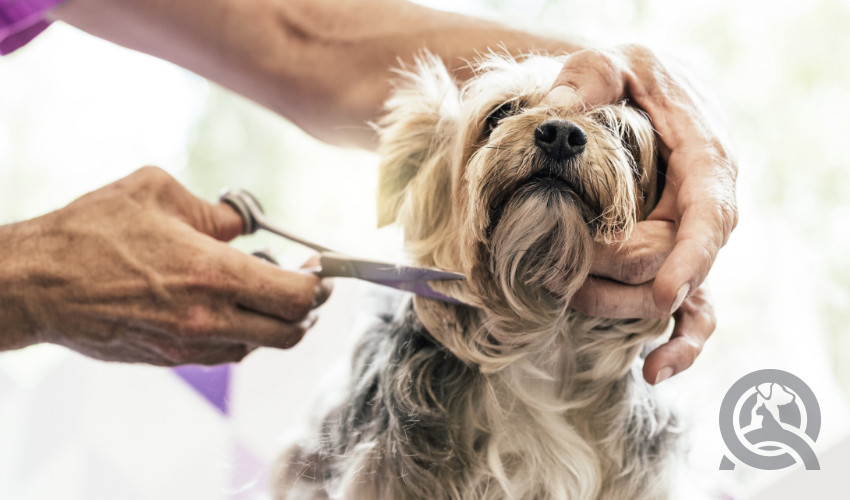
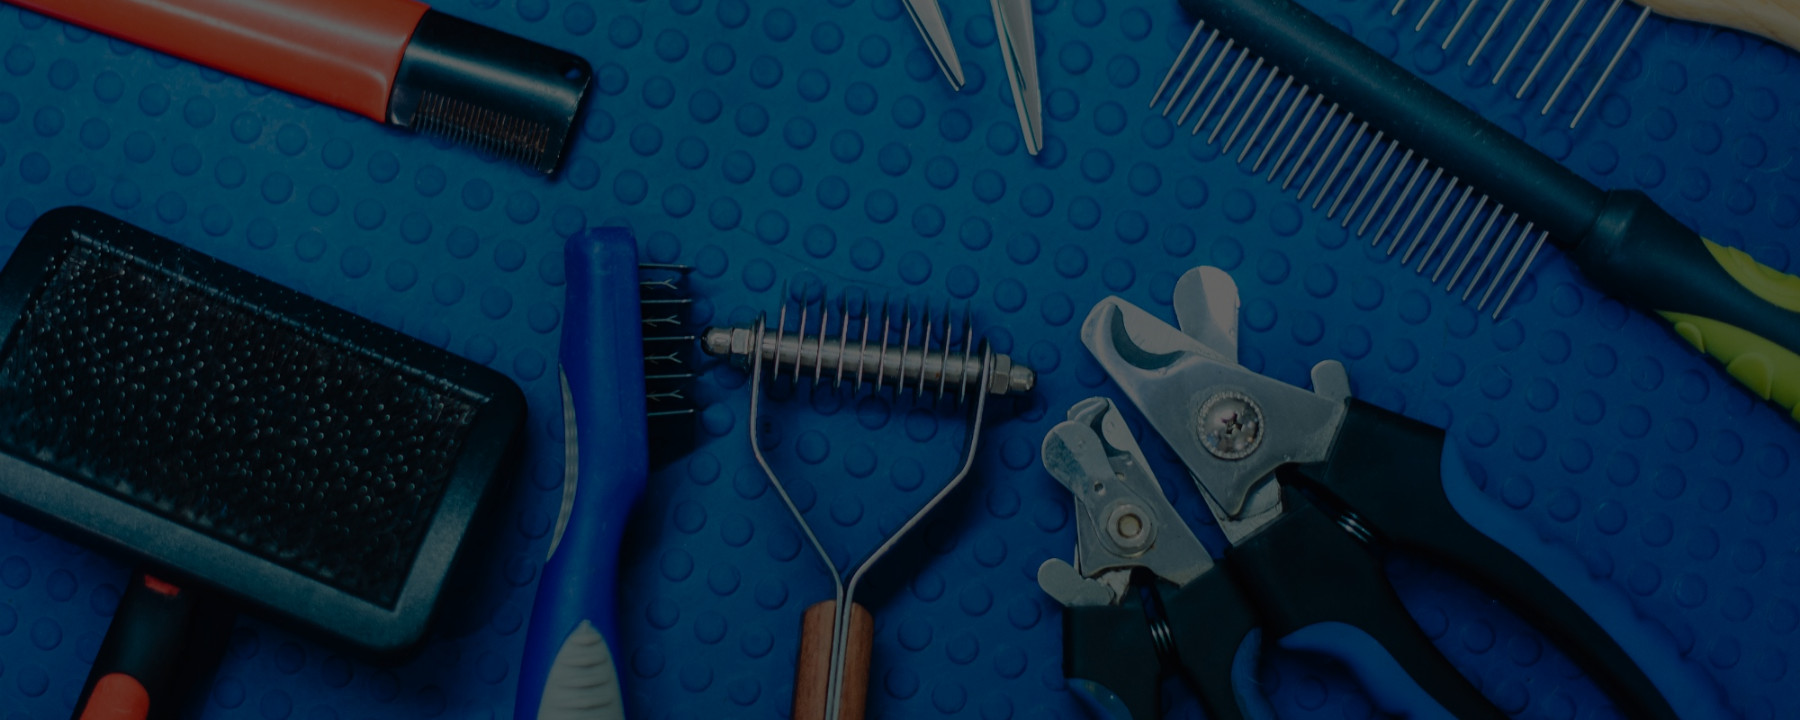
In QC’s Dog Grooming Course, we include a free dog grooming kit with professional tools. You will be able to use them to complete your assignments during your training. However, you should always be looking to expand and refine your collection. Just as every person has a preference for their favorite hair styling products, groomers also have a preference for the tools they use at the groomer’s table!
Before you start scheduling practice grooms, learn about the features and uses of all the tools you have in your kit! Ready? Let’s jump into it!

Unit C: Brushes, Combs, and Dematting Tools
In the third unit of the course, you’re going to learn all about the tools included in your dog grooming starter kit. These tools will be used to prep your dog before the bath and cut. Some combs, particularly the greyhound comb, should be used at the end of the grooming session to perform your final check. We’ll get to that in a second!
Check out the video below as QC Pet Studies instructor and tutor Lisa Day explains the differences between the variety of brushes and combs!
Let’s recap!
To start, Lisa advises having at least one tool from each category. One slicker brush, one comb, and one dematting tool. Although, this minimum is not recommended once you start accepting doggy clients of all breeds.
If you’re just taking your dog grooming course to groom your own personal pup, having one tool from each category that matches up with your dog’s specific coat conditions is critical. But as you’ll learn in Unit A, every breed has their own breed characteristics. You’ll definitely want to have a variety of tools so you can handle all dogs who come your way!
Slicker Brushes
Slicker brushes are your primary tools. They’re the brushes you’ll use every day in your career as a dog groomer. You’ll use them on all dog breeds, with the exception of smooth-coated dogs. Short-bristled slicker brushes can be used for shorter-coated dogs as well as double coats that aren’t too dense. These brushes have a cushioned head to absorb impact from where you’re combing through the coat. This feature is a safety precaution to lessen the chances of scraping the skin or causing brush burn when working with these tools.

Lisa then moves onto dematting slicker brushes. These brushes are effective for removing loose undercoat. They feature longer bristles that aren’t bent too much to achieve deeper penetration in the coat. Instead of a cushion, this particular brush has a flexible head to absorb impact from brushing.
Lisa also shows off an even longer bristle brush. This brush has a stiffer head that allows the brush to grab the undercoat more aggressively. She warns that you should pay close attention so as to not scrape any skin! Fortunately, there is still a little bit of flexibility with this brush. Thus, it decreases the risk of catching skin compared to brushes without flexible heads.
Pro tip: Applying too much pressure and going over the same place over and over again can cause brush burn! When working with slicker brushes, use the pat and pull method for best results.
Combs
Combs allow you to check if you’ve removed all the mats and loose undercoat. This step is imperative. Otherwise, you’d have no idea if you’ve gotten everything out!

The wide-tooth comb compliments the work of the dematting slicker brushes. The brush breaks up excess coat and mats. Then, the comb follows it to break up the rest of the coat that the brush wasn’t able to do. You must be able to run this wide-tooth comb through the dog’s coat without any snags before putting them in the bath. If you don’t, any leftover mats could tighten closer to the skin from the water, causing the dog pain!
Following the bath, run an even narrower comb through the body. If the finest part of the comb can run through it, then the dog is good to go. It’s not necessary to run the narrow-tooth comb through the coat before bathing. But it is necessary to be able to do so before sending the dog home! Pay attention to thicker-coat areas on the body. The combs should pass easily through even the densest areas.
On a greyhound comb with two different sized teeth, Lisa says the wider end is the minimum preference while the finer end is the maximum preference. This means that at the minimum, you should test the coat using the wider fine-toothed comb. For perfectionists and those who love a challenge, the narrowest comb can be used to test the coat.
A note on choosing the right tools…
Avoid buying cheap dog grooming tools, even at the beginning. These budget-friendly options seem like a great deal, but they are only suitable for personal use with one or two pups. You may develop bad habits from using these tools—especially if you’re using the same brush or comb without regard to a dog’s coat characteristics.

Running the finer-tooth combs through the body at the end ensures that all excess undercoat and mats are gone. If it passes through without any problems, then you know that you’ve done a good job!
Professional-grade tools design for dogs—that means not using human scissors on dog hair!—can make a huge difference in the quality of your work. Professional grade products are safer and more effective than low-grade options. Your cuts will be sharper, the mats will be easier to remove, and high-quality tools are resilient against the heavy use you’ll give them.
Pro tip: to help you build your professional dog grooming kit, QC offers student discounts! Check them out here.
Check out the dog grooming course outline to see the assignments you’ll complete to earn your dog grooming certification!
Your tools can last you a long time so long as you take care of them. Find out how to keep your dog grooming kit clean!


